Easy Easter 2D Crochet Patterns: Free Beginner Projects
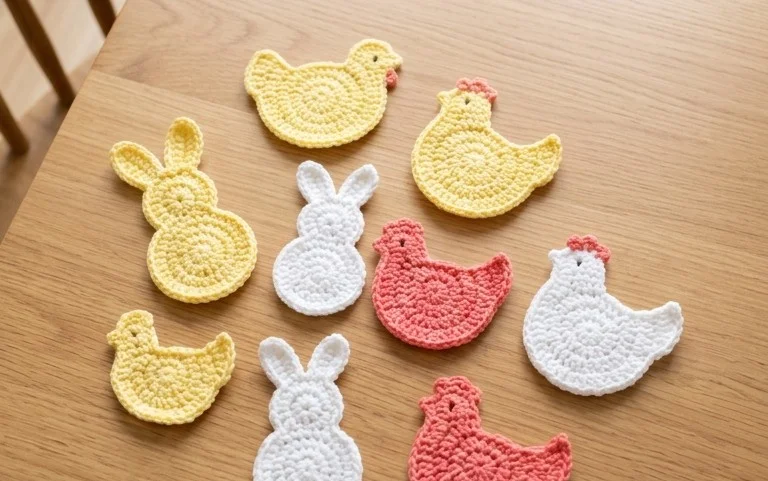
These flat, two-dimensional shapes offer a relaxing way to fill your holiday baskets without the stress of complex sewing or stuffing. You will find that working these designs flat allows for a quick turn-around, making them ideal for last-minute decorations or small gifts for friends. Each piece relies on basic stitches like single crochet and chain spaces to form clean edges that hold their shape against a table or wall. Mastering these simple foundation chains and color changes will provide you with a solid base for future design work while you enjoy a quiet afternoon of crafting.
Why You’ll Love This Pattern
This beginner-friendly amigurumi mushroom works up quickly using minimal yarn, making it an excellent stash-buster project for leftover worsted weight scraps. Because it uses simple circular increases and decreases, it provides a rhythmic, meditative process that allows you to practice shaping 3D forms without complex assembly. The final result is a charming, durable toy or desk accessory that stands firmly on its own. Its small size ensures that you can complete the entire project in a single afternoon.
I finished this project in about two hours and the instructions for the stem and cap were very easy to follow. It looks perfect sitting on my bookshelf.
— Sarah, amigurumi enthusiast
Pattern Overview & Skill Level
- Skill Level: Beginner
- Approximate Time: 1 to 2 hours
- Construction: Amigurumi method using continuous rounds, starting with a magic ring for both the cap and stem.
- Finished Dimensions & Sizing: Approximately 3 inches tall by 3 inches wide.
Materials & Supplies Needed
- Yarn: Worsted weight (#4), 100% cotton yarn (recommended for stitch definition), approx. 20 yards red (cap) and 15 yards cream (stem).
- Hook Size: 3.5 mm (E-4) for a tight gauge that prevents stuffing from showing through.
- Notions: Tapestry needle, stitch markers, fiberfill stuffing, scissors.
- Safe yarn substitutions: Acrylic yarn of the same weight will result in a slightly softer mushroom, while cotton blend yarns will maintain a structured shape similar to the original.
Stitch Guide & Abbreviations (US Terms)
- MR: Magic Ring
- ch: Chain
- sc: Single crochet
- inc: Increase (2 sc in the same stitch)
- dec: Decrease (sc2tog, invisible decrease preferred)
- sl st: Slip stitch
- st(s): Stitch(es)
Step-by-Step Pattern Instructions
Mushroom Cap
- Rnd 1: Work 6 sc into a magic ring. (6 sts)
- Rnd 2: Inc in each st around. (12 sts)
- Rnd 3: Sc 1, inc repeat 6 times. (18 sts)
- Rnd 4: Sc 2, inc repeat 6 times. (24 sts)
- Rnd 5: Sc 3, inc repeat 6 times. (30 sts)
- Rnd 6-9: Sc in each st around. (30 sts)
- Rnd 10: Sc 3, dec repeat 6 times. (24 sts)
- Rnd 11: Sc 2, dec repeat 6 times. (18 sts). Fasten off and weave in end.
Stem
- Rnd 1: Work 6 sc into a magic ring. (6 sts)
- Rnd 2: Inc in each st around. (12 sts)
- Rnd 3: Working in BLO (back loops only), sc in each st around. (12 sts)
- Rnd 4-7: Sc in each st around. (12 sts)
- Rnd 8: Sc 2, dec repeat 3 times. (9 sts). Fasten off, leaving a long tail for sewing.
Assembly
Stuff the stem firmly with fiberfill. Place the stem centered inside the mushroom cap base. Using the long yarn tail from the stem, whip stitch the top of the stem to the underside of the cap. Ensure the stitches are even to keep the mushroom standing straight. Hide the yarn tail inside the mushroom before trimming.
Care & Washing Instructions
- Hand wash in cool water with mild detergent to prevent the stuffing from clumping.
- Lay flat on a towel in a well-ventilated area to air dry completely.
- Reshape the mushroom gently with your hands while it is still damp if the structure feels slightly compressed.
Pro Tips & Common Mistakes to Avoid
To achieve a professional finish, keep your tension consistent throughout the piece; tight, even stitches ensure that the fiberfill stuffing does not peek through the gaps. Always place a stitch marker in the first stitch of every round to keep an accurate count of your increases and decreases. When weaving in your ends, run the needle through the inside of the work to keep the exterior surface clean and snag-free. If you want a larger mushroom, you can add more rounds to the cap increase sequence, but note that this will require more yarn and a slightly larger amount of stuffing to maintain the shape.
Frequently Asked Questions
Can I use a larger hook size for this pattern?
Using a larger hook will result in a larger, looser mushroom. You will likely need more yarn, and the stitches will be loose enough that the white stuffing will be visible through the fabric.
Is this project suitable for absolute beginners?
Yes, this is an ideal project for beginners because it focuses on the most basic amigurumi techniques: the magic ring, single crochet, and simple increases and decreases.
How do I make the invisible decrease mentioned?
Insert your hook into the front loop of the first stitch, then into the front loop of the second stitch. Yarn over, pull through the first two loops, then yarn over and pull through the remaining two loops.
Can I sell finished items made from this pattern?
Check the original designer’s copyright information included with the pattern source. Most individual designers allow small-scale sales but appreciate a credit link to the original pattern page.
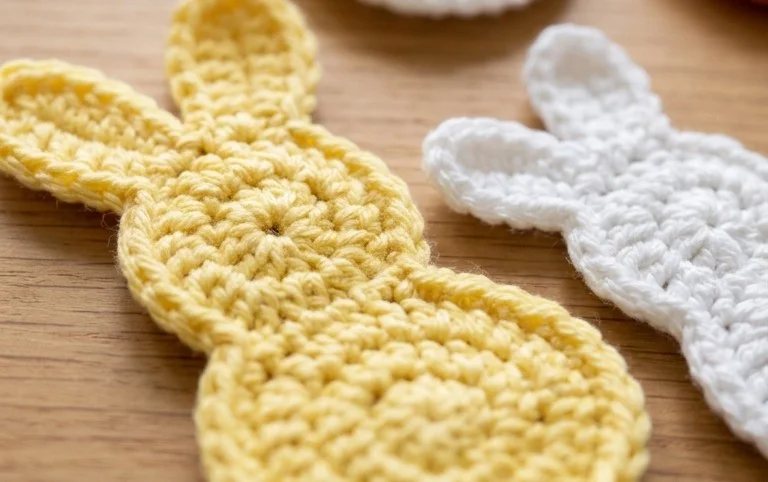
Seeing these flat pieces come together brings a sense of accomplishment that simple scraps of yarn often provide. You might try using variegated cotton yarn for a multicolored finish or sizing up your hook for a larger, more airy wall hanging. Posting a snapshot of your final work on social media helps others find these designs for their own spring celebrations. Feel free to browse through my archive of other small, accessible projects to find your next afternoon craft session once you finish this current set.