Easy DIY Scrap Fabric Potholder: Free Crochet Pattern
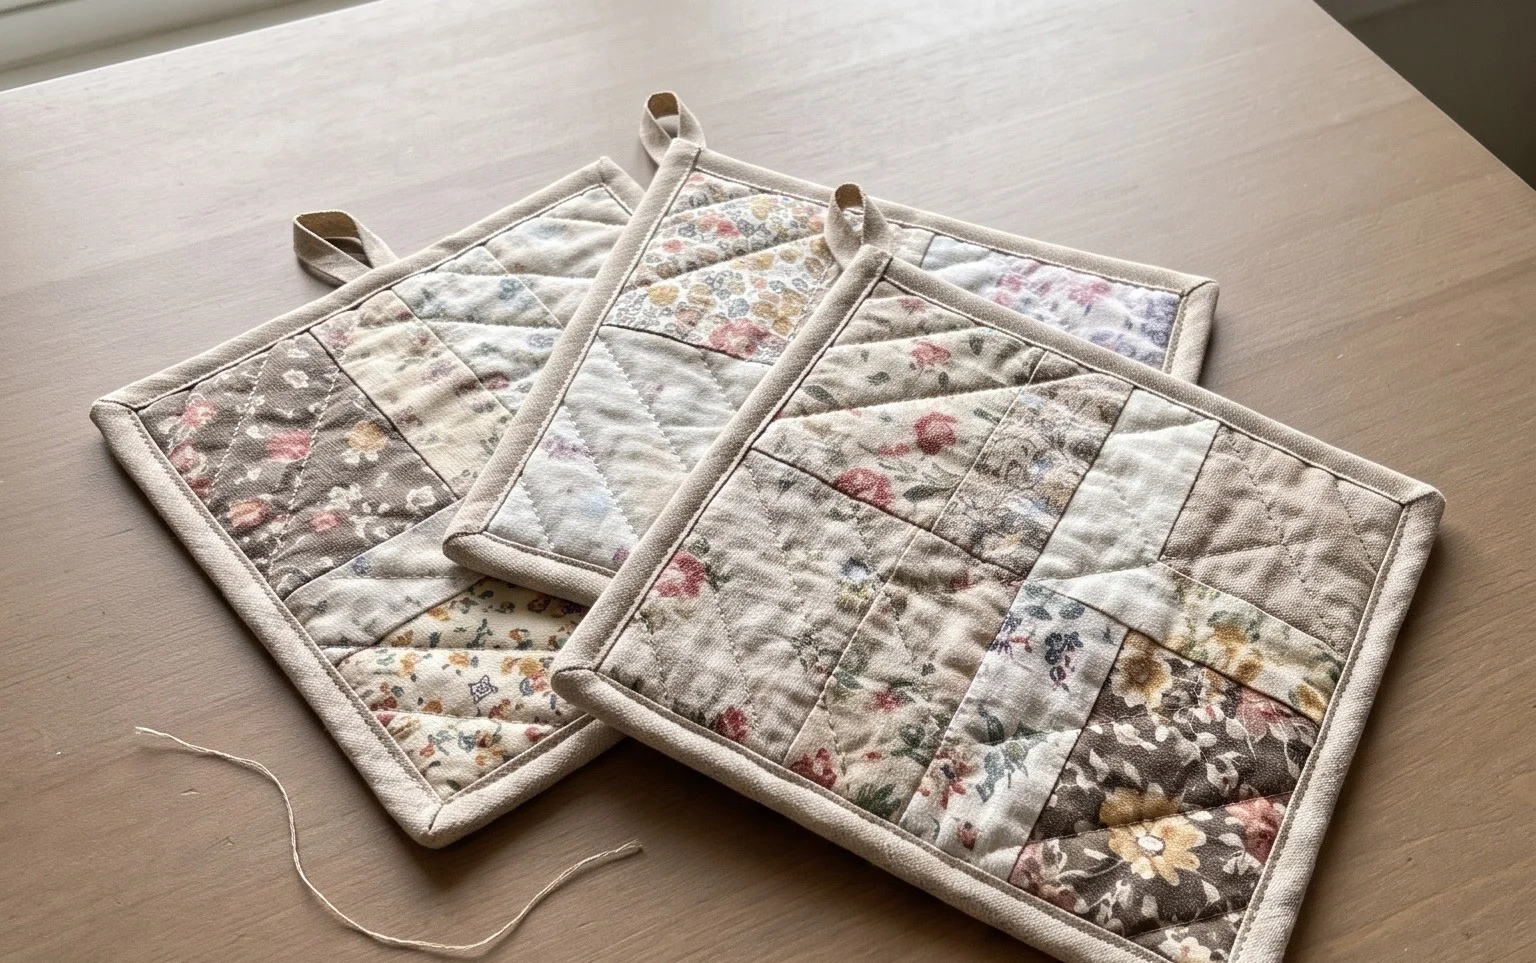
A thick, sturdy potholder protects your hands from hot pans while using up those lonely bits of leftover yarn sitting in your basket. This project results in a dense fabric with a satisfyingly nubby texture that stands up to daily kitchen wear. It suits beginners who want a quick win and anyone building a cohesive kitchen collection through thoughtful handmade gifts. You will master the moss stitch, a simple technique that alternates single crochets with chain spaces to build warmth and thickness. Working on these squares is meditative and allows you to clear out your stash of small remnants while creating something genuinely useful.
Why Crocheters Love It
This classic crochet dishcloth pattern uses the moss stitch to create a dense, textured fabric that excels at scrubbing dishes while remaining soft enough for delicate glassware. The moss stitch, often called the granite or linen stitch, is a meditative two-row repeat that is easy for beginners to memorize. Because it uses a simple combination of single crochet stitches and chains, you can work on this project while watching television or listening to an audiobook. Many makers keep several of these on their hooks at once because they serve as an ideal travel project that fits easily into a small bag.
I finally learned how to keep my edges straight with this pattern, and it works up so quickly that I made a full set for my kitchen in one weekend.
— Sarah, home crafter
Pattern Overview & Skill Level
- Skill Level: Beginner
- Approximate Time: 1–2 hours per cloth
- Construction: Flat panel worked in rows, finished with a border
- Finished Dimensions: 8 inches by 8 inches
Materials & Supplies Needed
- Yarn: Worsted weight #4, 100% cotton, approximately 60 yards per cloth. Cotton is essential for its absorbency and heat resistance.
- Hook Size: 5.0 mm (H-8).
- Notions: Tapestry needle for weaving in ends, scissors, and a locking stitch marker to track the start of rows if needed.
- Yarn Substitutions: You may use a cotton-acrylic blend for a softer feel, but pure cotton is recommended for maximum absorbency. If you choose a finer weight yarn, you will need to increase your starting chain count to maintain the 8-inch width.
Stitch Guide & Abbreviations (US Terms)
- ch = chain
- sc = single crochet
- st = stitch
- sk = skip
- sp = space
- sl st = slip stitch
- Moss Stitch: A pattern created by alternating single crochet stitches and chains in the previous row’s chain-space.
Step-by-Step Pattern Instructions
Main Cloth Body
- Row 1: Chain 32. Sc in the 4th chain from the hook. *Ch 1, sk 1 ch, sc in the next ch. Repeat from * across the row until 1 ch remains. Sc in the last ch. (16 sc, 15 ch-1 spaces).
- Row 2: Ch 2 and turn. Sc in the first ch-1 space. *Ch 1, sk the sc, sc in the next ch-1 space. Repeat from * across, finishing with a sc in the turning chain space. (16 sc, 15 ch-1 spaces).
- Rows 3–30: Repeat Row 2. Your piece should measure approximately 8 inches in height.
Border and Finishing
- Do not fasten off after Row 30. Ch 1 and turn to work along the side of the panel.
- Work sc stitches evenly down the side of the cloth, placing one sc in the end of every row. Place 3 sc in the corner stitch to help it turn smoothly.
- Continue working sc stitches across the bottom foundation chain, then up the other side, and across the top edge.
- Sl st to the first sc to join the round. Fasten off and use your tapestry needle to weave in the tail through the back of the work to secure it.
Care & Washing Instructions
- Machine wash your cotton dishcloths in warm water on a gentle cycle to remove oils and food residue.
- Tumble dry on low heat or lay the cloth flat on a clean towel to air dry, which helps prevent shrinking.
- If the corners begin to curl after several washes, dampen the cloth and lay it flat under a heavy book for two hours to reshape.
Pro Tips & Common Mistakes to Avoid
Maintain consistent tension throughout the project to keep the moss stitch looking uniform; if your chain stitches are too tight, the fabric will pull inward. Use a stitch marker at the end of every row to ensure you are catching the final chain space, as it is common for beginners to accidentally drop stitches on the edges, resulting in a cloth that shrinks in width as it grows in length. Weave your ends in by running the tapestry needle through three separate vertical columns of stitches to ensure the tail does not pull out during heavy scrubbing. You can easily adjust the size of this cloth by adding or removing foundation chains in increments of two, but remember that a larger size will require additional yardage beyond the standard 60 yards.
Frequently Asked Questions
Can I use acrylic yarn for these dishcloths?
While you can, it is not recommended. Acrylic yarn is plastic-based and does not absorb water, making it ineffective for cleaning dishes. Stick to 100% cotton or linen for the best results.
How do I know if my tension is correct?
Your stitches should look even, and the fabric should have a slight drape. If the cloth feels stiff and board-like, try moving up to a 5.5 mm hook to allow more room for the yarn to breathe.
Is it okay to sell items made from this pattern?
Yes, you are welcome to sell finished items made from this pattern, provided you credit the designer. Always include your own care instructions with the items you sell.
What if I run out of yarn halfway through?
Because this pattern is a simple grid, you can finish the current row, join a new ball of yarn using a secure knot, and continue the pattern. Ensure the knot is small so it can be hidden within a stitch.
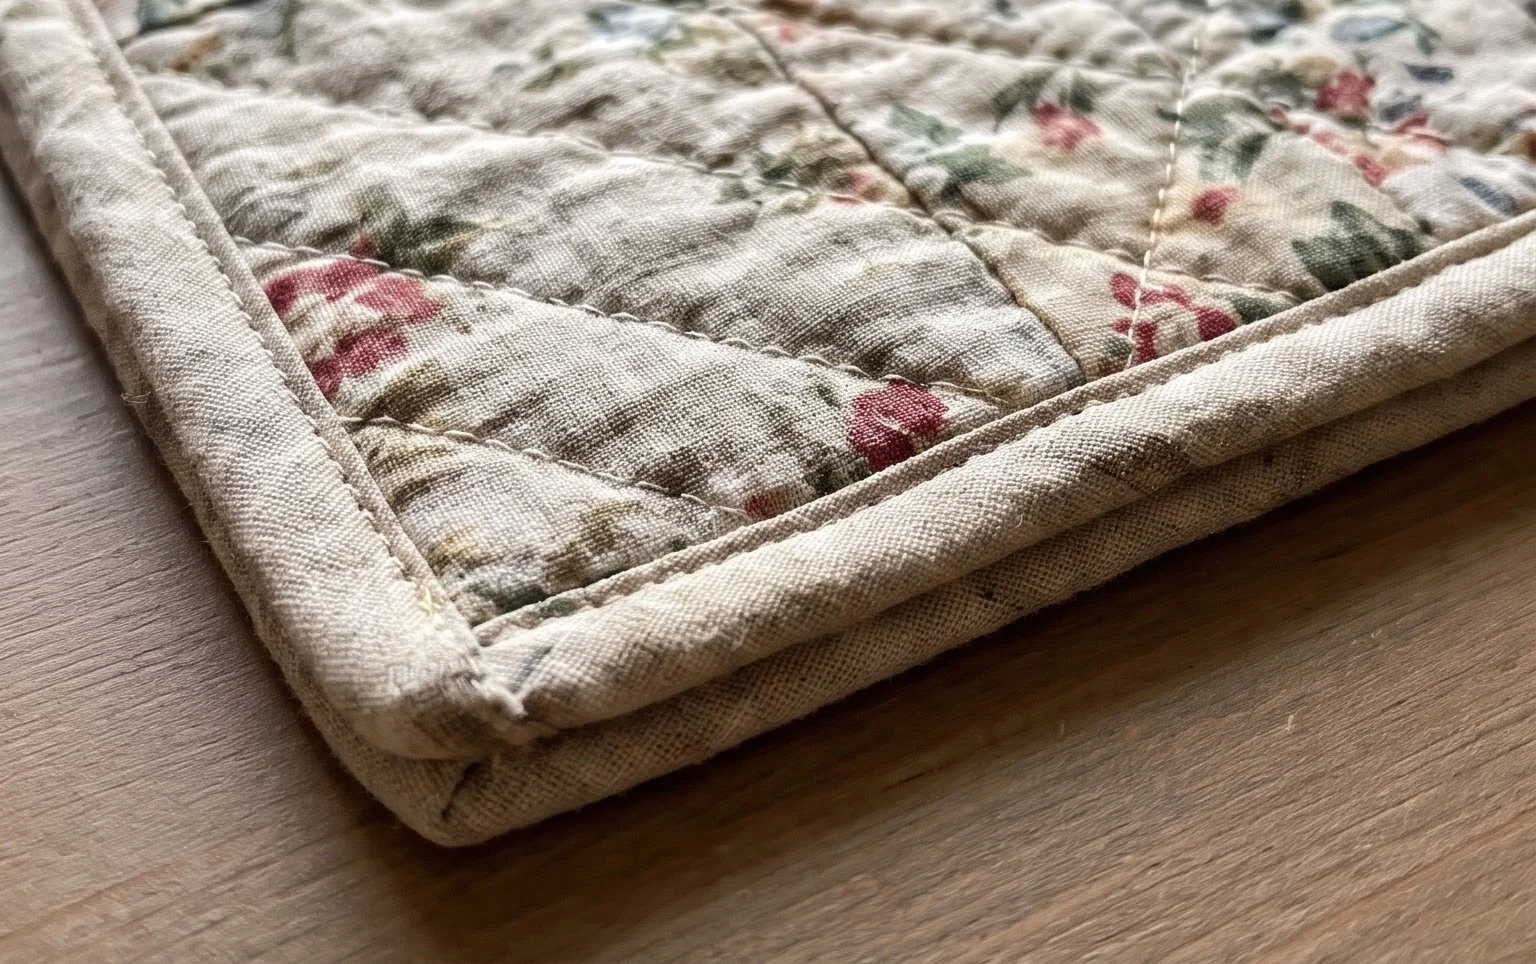
Your finished project provides a reliable layer of protection for your hands and adds a touch of color to your kitchen workspace. You can experiment with using two strands of finer weight yarn held together to create a variegated look or adjust the starting chain to turn this square into a longer rectangle for a heat-safe mat. Share a photo of your work on Instagram to inspire other makers in the community. Browse our full archive of free patterns on the blog for your next afternoon project.