Beginner Amigurumi Snowman Free Pattern, Step by Step
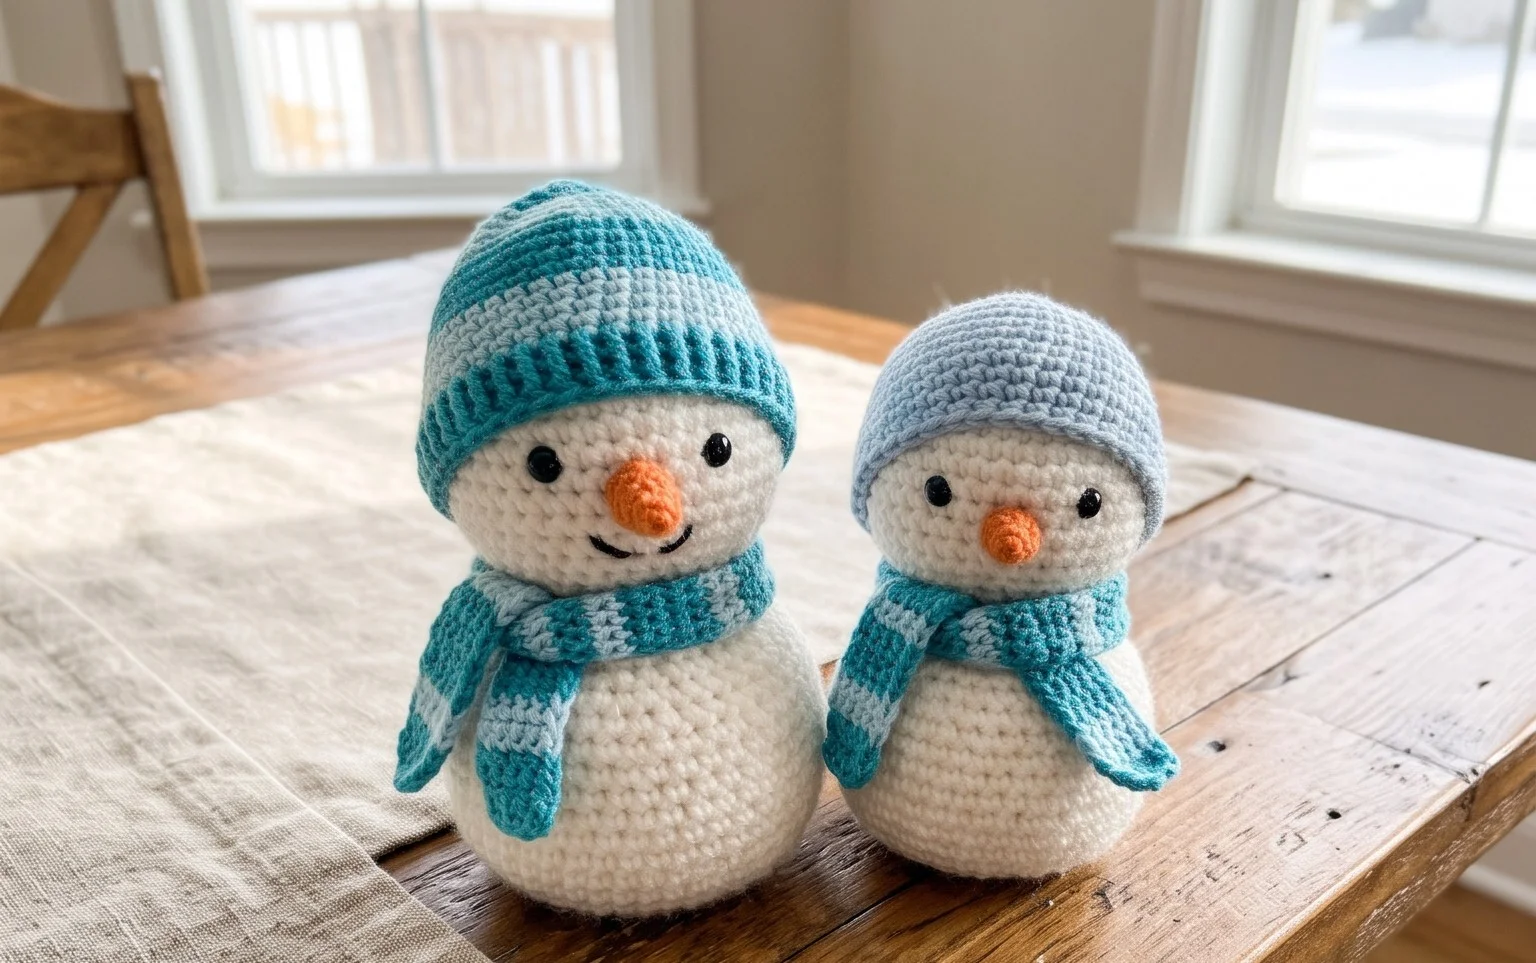
Soft yarn, a rounded body, and a little scarf give this crocheted snowman a friendly winter look that fits on a shelf, desk, or holiday mantel. The finished figure is light to hold, softly stuffed, and easy to personalize with a different hat or scarf color. This project suits beginners who are ready to practise shaping in the round, as well as gift makers who want a handmade present that feels cheerful without taking over a weekend. You’ll work familiar crochet stitches, including single crochet, increases, and decreases, to form the snowman’s shape. The small details bring it to life, and watching the simple pieces become a recognizable winter character makes the making especially satisfying.
Why You’ll Love This Pattern
A firm cotton washcloth has a gently nubby texture that works well for washing dishes, wiping counters, or keeping beside the sink. This beginner-friendly pattern uses single crochet in straight rows, so you can focus on even tension rather than learning complicated stitch changes. The small rectangle is also a useful way to practise keeping row edges neat, and one cloth can usually be finished in an evening or two. Cotton yarn makes the finished cloth absorbent and easy to wash; a leftover ball is often enough for one.
The rows were easy to keep track of, and the cotton feels substantial without being stiff. I finished mine over two evenings and use it at the kitchen sink.
— Mara, sample maker
Pattern Overview & Skill Level
- Skill Level: Beginner. You need to chain, make single crochet stitches, and turn your work.
- Approximate Time: About 2–3 hours, depending on your pace and how often you pause to count.
- Construction: Work one flat rectangle in rows, then fasten off and weave in the two yarn ends. There is no seam or separate edging.
- Finished Dimensions & Sizing: Approximately 7.5 × 6.7 in (19 × 17 cm) after washing and drying flat, at a gauge of 16 stitches and 18 rows per 4 in (10 cm) in single crochet.
Check your gauge before beginning if you want the stated size. A tighter fabric will make a smaller, denser cloth; a looser fabric will make a larger, more open one. Cotton can relax slightly after its first wash, so measure your swatch before and after washing if exact dimensions matter.
Materials & Supplies Needed
- Yarn: About 90–100 yd (82–91 m) of medium-weight worsted yarn, weight #4, in 100% cotton. One main color is enough; a partial skein usually works if it has the required yardage.
- Hook Size: 5.0 mm / H-8 crochet hook. If your stitches are loose, try 4.5 mm; if they are very tight, try 5.5 mm and check the fabric and gauge again.
- Notions: Tapestry needle for weaving in ends, scissors, measuring tape, and a stitch marker if you like marking the first stitch of a row.
- Substitutions: A similar-weight cotton-linen blend can be used, though it may feel less soft and may drape differently. A cotton-acrylic blend dries faster but is generally less absorbent. Keep the same weight and check your gauge; changing yarn or hook size can change both dimensions and yardage.
Acrylic yarn is not the best choice for a cloth used with hot cookware or hot water. It can soften with heat and does not absorb water as well as cotton. For a face cloth, choose a smooth, soft cotton and avoid rough or highly textured yarn that may feel scratchy against skin.
Stitch Guide & Abbreviations (US Terms)
- ch: Chain stitch.
- sc: Single crochet. Insert the hook in the indicated stitch, yarn over and pull up a loop, yarn over again, and pull through both loops.
- st(s): Stitch(es).
The turning chain does not count as a stitch in this pattern. At the start of each row, make one chain, turn, and work the first single crochet into the first stitch of the previous row. This keeps the stitch count at 30 and avoids a gap along the edge.
Step-by-Step Pattern Instructions
Washcloth
Use the 5.0 mm hook and worsted cotton. Keep your starting chain relaxed so the lower edge does not pull in more tightly than the rest of the cloth.
- Row 1: Ch 31. Sc in the second ch from the hook and in each ch across. (30 sts)
- Row 2: Ch 1, turn. Sc in each st across. (30 sts)
- Row 3: Ch 1, turn. Sc in each st across. (30 sts)
- Row 4: Ch 1, turn. Sc in each st across. (30 sts)
- Row 5: Ch 1, turn. Sc in each st across. (30 sts)
- Row 6: Ch 1, turn. Sc in each st across. (30 sts)
- Row 7: Ch 1, turn. Sc in each st across. (30 sts)
- Row 8: Ch 1, turn. Sc in each st across. (30 sts)
- Row 9: Ch 1, turn. Sc in each st across. (30 sts)
- Row 10: Ch 1, turn. Sc in each st across. (30 sts)
- Row 11: Ch 1, turn. Sc in each st across. (30 sts)
- Row 12: Ch 1, turn. Sc in each st across. (30 sts)
- Row 13: Ch 1, turn. Sc in each st across. (30 sts)
- Row 14: Ch 1, turn. Sc in each st across. (30 sts)
- Row 15: Ch 1, turn. Sc in each st across. (30 sts)
- Row 16: Ch 1, turn. Sc in each st across. (30 sts)
- Row 17: Ch 1, turn. Sc in each st across. (30 sts)
- Row 18: Ch 1, turn. Sc in each st across. (30 sts)
- Row 19: Ch 1, turn. Sc in each st across. (30 sts)
- Row 20: Ch 1, turn. Sc in each st across. (30 sts)
- Row 21: Ch 1, turn. Sc in each st across. (30 sts)
- Row 22: Ch 1, turn. Sc in each st across. (30 sts)
- Row 23: Ch 1, turn. Sc in each st across. (30 sts)
- Row 24: Ch 1, turn. Sc in each st across. (30 sts)
- Row 25: Ch 1, turn. Sc in each st across. (30 sts)
- Row 26: Ch 1, turn. Sc in each st across. (30 sts)
- Row 27: Ch 1, turn. Sc in each st across. (30 sts)
- Row 28: Ch 1, turn. Sc in each st across. (30 sts)
- Row 29: Ch 1, turn. Sc in each st across. (30 sts)
- Row 30: Ch 1, turn. Sc in each st across. (30 sts)
Finishing
Fasten off, leaving a tail long enough to sew in securely. Thread the tail onto a tapestry needle and weave it through the backs of several stitches, changing direction once so it is less likely to work loose. Weave in the starting tail the same way. Do not pull the edges tight while sewing in the ends, or the rectangle may pucker.
Care & Washing Instructions
- Wash cotton by machine in warm water, up to 40°C (104°F), or by hand with a mild detergent.
- Dry flat on a clean towel; reshape the corners while the cloth is damp.
- Block lightly if the edges curl, following the yarn label and avoiding excessive heat.
Pro Tips & Common Mistakes to Avoid
- Keep your tension steady, especially in the first chain. If the foundation edge is noticeably tighter than the top, remake it with a slightly larger hook just for the chain.
- Count 30 stitches at the end of every row. The turning chain does not count, so work into the first stitch rather than skipping it.
- Place a stitch marker in the first stitch of a row if you tend to miss edge stitches. Move it up as you work; this is especially helpful when the last stitch is easy to overlook.
- For a wider cloth, add chains to the foundation; each added chain gives one extra stitch. For a longer cloth, work more rows. Both changes use more yarn, and adding width also increases the yarn needed for every row.
Frequently Asked Questions
Can I use a different yarn fiber?
Yes. Cotton is recommended because it absorbs water and handles regular washing well. A cotton-linen blend is a workable alternative, but it may feel firmer. Check the label for care directions and make a swatch because different fibers can change the finished size.
How can I make the washcloth smaller or larger?
For a narrower cloth, start with fewer chains, then single crochet into every chain after the first to set the stitch count. For more length, add rows. More stitches or rows require additional yarn, and the finished dimensions depend on your gauge.
Is this pattern suitable for a first crochet project?
Yes, if you are comfortable making a chain and single crochet. The main challenge is keeping 30 stitches in each row. Use a marker at the row edge and count before turning until the shape stays even.
Can I sell washcloths made from this pattern?
Check the designer’s terms before selling finished items, and follow any credit or product-label requirements they specify. If you sell them, give buyers clear care instructions for the yarn you used.
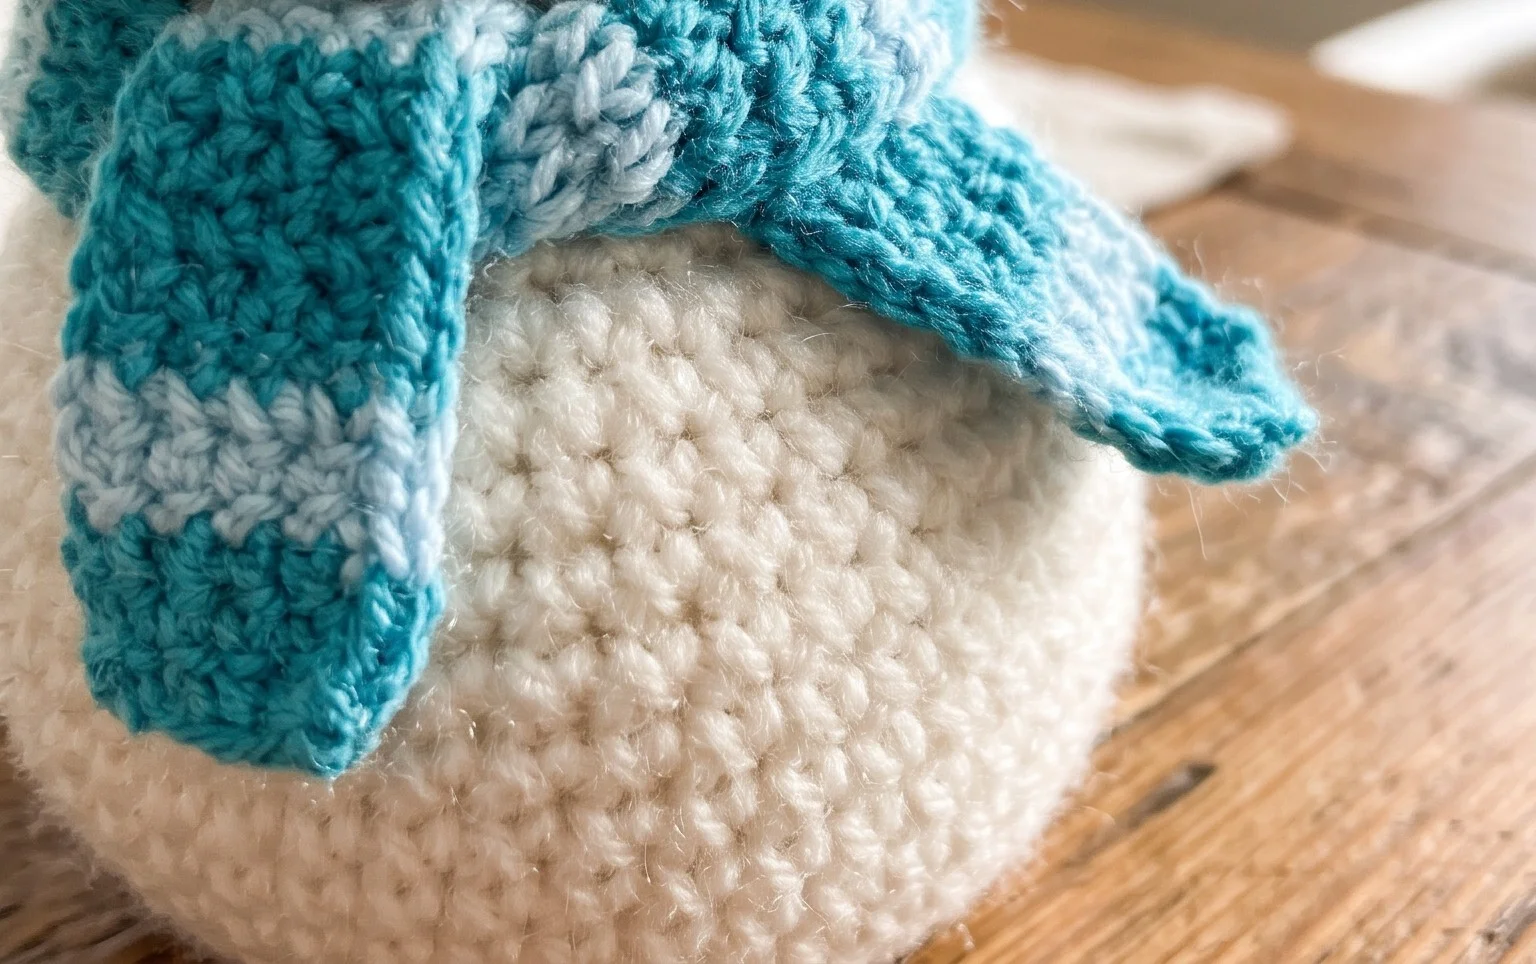
Your finished snowman has a soft, cheerful shape that looks right at home on a winter shelf or tucked into a handmade gift basket. For a simple variation, switch the scarf to a bright red or blue, or use finer yarn with a smaller hook to make a petite version. If you make one, share a photo on Pinterest or your favorite social media account so other crocheters can see your colors and finishing touches. Keep the snowman away from rough surfaces that could catch the yarn, and store it in a dry place between seasons. When you’re ready for another project, explore more free crochet patterns on the blog for ideas to make throughout the year.