Crochet Snow-Speckled Reindeer Beanie: Free Easy Pattern
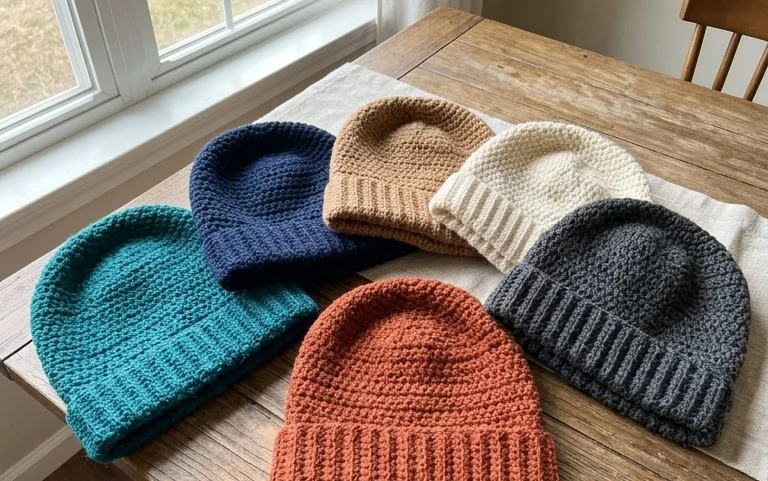
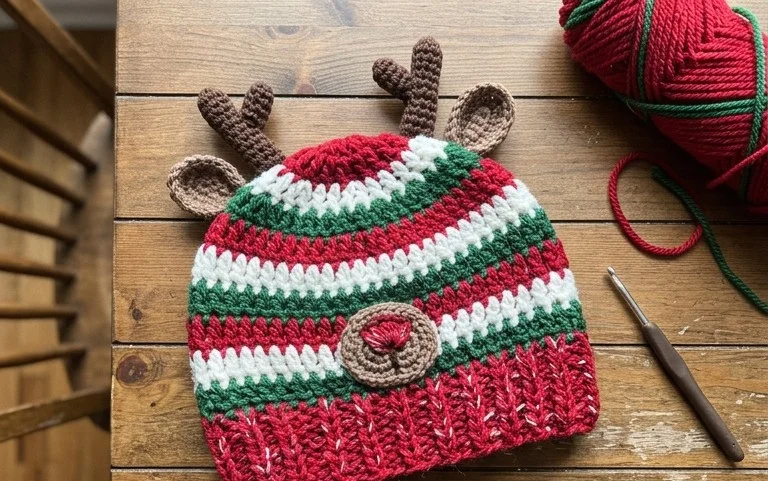
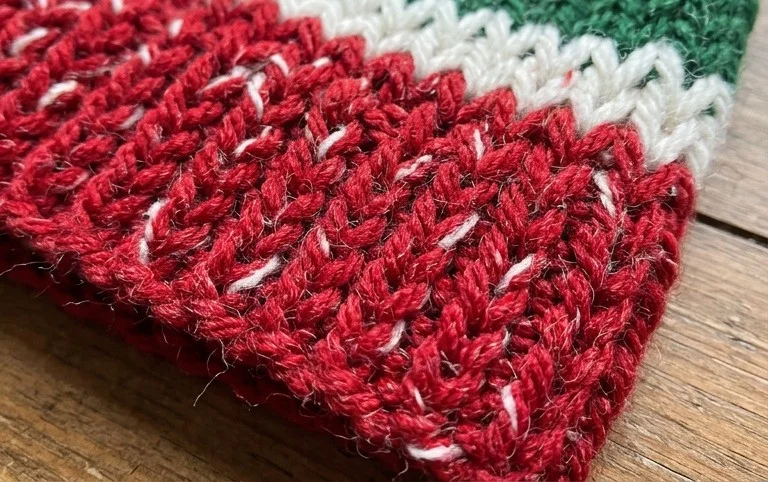
Soft yarn speckled with tiny flecks of color creates a cozy, rustic look that reminds me of snowy winter evenings spent by the fire. This beanie provides a thick, squishy texture that feels professional while remaining approachable for those just starting their crochet journey. The design relies on simple half double crochet stitches worked into the back loops, which creates a flexible ribbed fabric that fits snugly against the ears. Whether you are crafting a heartfelt gift for a friend or expanding your cold-weather wardrobe, you will find the repetitive, rhythmic nature of this project deeply relaxing and productive.
Why You’ll Love This Pattern
This beginner-friendly crochet beanie is a classic winter staple that works up in just a few hours. The simple construction relies on half double crochet stitches worked in the back loops, creating a stretchy, ribbed fabric that mimics a professional knit look. Because this project uses bulky weight yarn, you can complete it over the course of a single evening while watching a show or relaxing at home. It makes an ideal gift because the fabric is highly forgiving, offering a flexible fit that accommodates various head sizes comfortably.
I finished this hat in one night for my sister and the ribbed texture looks so high-end despite being so easy to stitch. It fits perfectly and keeps its shape well even after wearing it all week.
— Sarah, weekend hobbyist
Pattern Overview & Skill Level
- Skill Level: Beginner
- Approximate Time: 3 to 4 hours
- Construction: Worked as a flat rectangle, then seamed along the side and cinched at the top to form the crown
- Finished Dimensions & Sizing: Fits an average adult head (20 to 22 inches circumference), 9 inches tall before cinching
Materials & Supplies Needed
- Yarn: Bulky weight (#5) acrylic or wool blend, approximately 150 yards. Solid colors show off the texture best.
- Hook Size: 6.0 mm (J-10) crochet hook.
- Notions: Tapestry needle for seaming and weaving in ends, locking stitch markers, and scissors.
- Safe Yarn Substitutions: You may use two strands of worsted weight (#4) yarn held together as a substitute for bulky weight. This will create a slightly thicker, warmer fabric but will use double the total yardage.
Stitch Guide & Abbreviations (US Terms)
- ch: chain
- hdc: half double crochet
- BLO: back loop only (insert hook under the back loop of the V-stitch rather than both loops)
- sl st: slip stitch
- st/sts: stitch/stitches
Step-by-Step Pattern Instructions
Main Body Panel
The hat is worked in rows back and forth. The number of chains determines the height of the hat; add more chains if you prefer a slouchy fit.
- Row 1: Ch 35. Hdc in the second ch from hook and in each ch across. Turn. (34 sts)
- Row 2: Ch 1, hdc in BLO of each st across. Turn. (34 sts)
- Rows 3–50: Repeat Row 2 until the piece measures approximately 20 inches when slightly stretched. Do not fasten off.
Assembly
- Joining: Fold the rectangle in half, bringing the short ends together. Slip stitch through the back loops of the starting chain and the loops of the final row to seam the side closed.
- Cinching the Crown: Fasten off, leaving a 12-inch long tail of yarn. Thread the tail onto your tapestry needle. Weave the yarn in and out through the edge of one side of the tube. Pull the tail tight to close the opening, creating the crown of the hat.
- Finishing: Secure the yarn with a knot and weave in all loose ends on the inside of the hat. Turn the hat right-side out.
Care & Washing Instructions
- Hand wash in cool water using a mild wool-safe detergent to maintain the integrity of the fibers.
- Lay the hat flat on a clean towel to air dry, reshaping it while damp to ensure it retains its circular form.
- Avoid wringing or twisting the fabric when wet, as this can stretch out the stitches and lead to pilling.
Pro Tips & Common Mistakes to Avoid
Maintain consistent tension by holding your yarn with a steady, firm grip; if your stitches are too tight, the hat will lose its elasticity and won’t stretch comfortably over the head. Always place a stitch marker in the first stitch of every row to ensure you do not accidentally drop stitches at the edges, which would create a slanted seam. Weave your ends in by running the needle through the center of the stitches on the wrong side rather than just looping them through, as this prevents them from popping out later. If you wish to make the hat larger, simply increase your starting chain count; keep in mind that this will require additional yardage to complete the extra length.
Frequently Asked Questions
Can I use a cotton yarn instead of acrylic or wool?
Yes, you can use cotton, but keep in mind that cotton has no stretch. The hat will feel firmer and may not cling to your head as snugly as wool or acrylic blends.
Is this pattern suitable for complete beginners?
This is an excellent first project because it uses only one basic stitch. You will practice maintaining tension and understanding how working in the back loop creates ribbing.
How can I tell if the hat is the right size?
Wrap the finished rectangle around your head before seaming. It should feel snug without stretching the stitches to the point where gaps appear between them.
Am I allowed to sell hats made from this pattern?
You are welcome to sell finished items created from this pattern. Please credit the design to this tutorial when listing your products online.
Watching your handmade stitches transform into a warm and functional hat provides a genuine sense of accomplishment for any maker. If you want to customize your version, try switching the base yarn for a deep charcoal or festive forest green to change the overall style completely. Once your hat is finished, share a photo of your work on Instagram or Pinterest to show others your progress. I invite you to browse through the rest of the blog for more accessible, seasonal patterns to stock your shelves for the coming months.