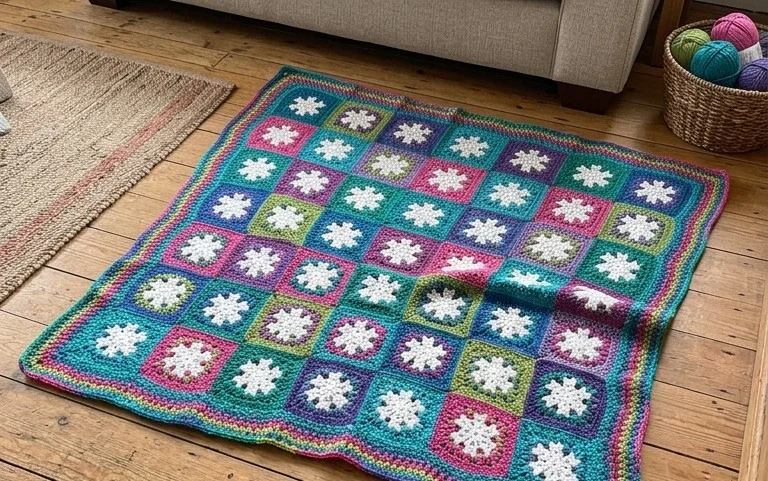
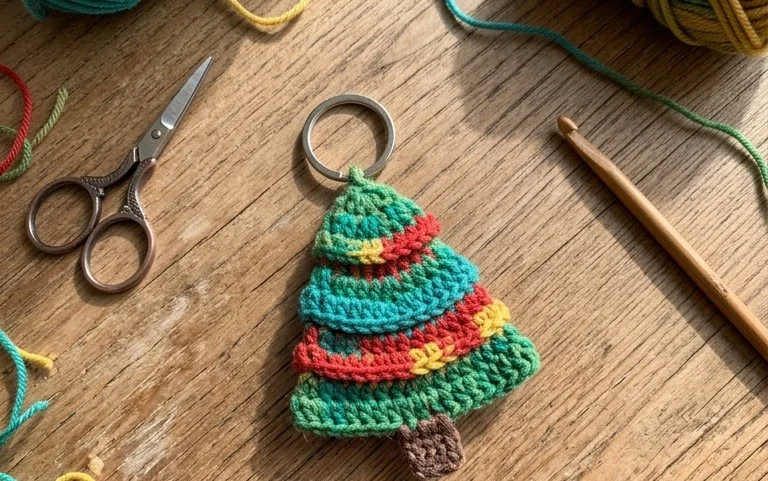
Easy Christmas Tree Skirt Crochet Pattern: Free Tutorial
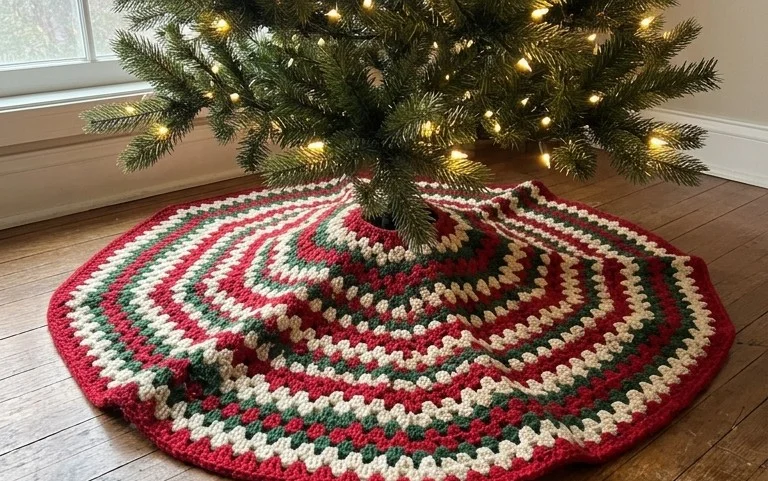
A handmade tree skirt grounds your holiday decorations with a layer of warmth and soft texture beneath the branches. Making this piece from individual granny squares offers a relaxed way to assemble a custom holiday heirloom that fits your home perfectly. Beginners often find this approach satisfying because it allows for steady progress without the stress of managing one massive, heavy panel on your lap. You will learn to join modular units using a flat seam method that remains invisible once the skirt sits on the floor. This project turns yarn scraps into a festive focal point that lasts for seasons.
Why You’ll Love This Pattern
The Classic Crochet Granny Square is the foundation of countless heritage blankets, tote bags, and cardigans. This project is ideal for beginners because it introduces the concept of working into chain spaces rather than individual stitches, which makes the rhythm of the work feel much more forgiving. You will enjoy how quickly the squares grow as you work toward the corners, and because each square is a small, modular unit, it serves as the ultimate portable project for your commute or weekend travel. Many makers find the repeating clusters of double crochet stitches meditative, as the pattern requires very little counting once the first two rounds are established.
I finally learned how to make a perfect flat square after struggling with other patterns for months. This guide explains the corner turns so clearly that I finished six blocks in a single afternoon.
— Sarah, hobbyist crafter
Pattern Overview & Skill Level
- Skill Level: Beginner
- Approximate Time: 30 to 45 minutes per square
- Construction: Worked in joined rounds, starting from the center and expanding outward
- Finished Dimensions: Approximately 6 inches by 6 inches when using worsted weight yarn
Materials & Supplies Needed
- Yarn: Worsted #4 weight, 100% cotton or acrylic blend, approximately 20 yards per square.
- Hook Size: 5.0 mm (US H-8).
- Notions: Tapestry needle for weaving in ends, sharp scissors.
- Yarn Substitutions: You can use DK weight yarn with a 4.0 mm hook for a smaller, finer square, or bulky weight yarn with a 6.0 mm hook for a larger, quicker square. Note that changing yarn weight will significantly alter the final dimensions.
Stitch Guide & Abbreviations (US Terms)
- ch: Chain
- st: Stitch
- sl st: Slip stitch
- dc: Double crochet
- dc cluster: 3 double crochet stitches worked into the same space
- sp: Space created by the chain
- MR: Magic ring (or alternative: ch 4 and sl st to the first ch to form a ring)
Step-by-Step Pattern Instructions
Granny Square Body
- Rnd 1: Start with a MR. Ch 3 (counts as first dc), work 2 dc into the ring, ch 2. Work 3 dc into the ring, ch 2. Repeat from * to * two more times. Join with a sl st to the top of the beginning ch-3. (12 dc, 4 ch-2 spaces)
- Rnd 2: Sl st into the next two sts and into the first ch-2 corner sp. Ch 3, 2 dc in same sp, ch 2, 3 dc in same sp. Ch 1, skip 3 dc, (3 dc, ch 2, 3 dc) in next ch-2 sp. Repeat from * to * two more times. Ch 1, join with a sl st to the top of the beginning ch-3. (24 dc, 4 ch-2 spaces, 4 ch-1 spaces)
- Rnd 3: Sl st into the next two sts and into the ch-2 corner sp. Ch 3, 2 dc in same sp, ch 2, 3 dc in same sp. Ch 1, 3 dc in the next ch-1 side sp, ch 1, (3 dc, ch 2, 3 dc) in the next ch-2 corner sp. Repeat from * to * two more times. Ch 1, 3 dc in last ch-1 side sp, ch 1, join with a sl st to the top of the beginning ch-3. (36 dc, 4 ch-2 spaces, 8 ch-1 spaces)
- Rnd 4: Continue in established pattern, working 3 dc, ch 2, 3 dc into every corner ch-2 sp and 3 dc into every side ch-1 sp, separating all clusters with a ch 1. Join with a sl st. (48 dc, 4 ch-2 spaces, 12 ch-1 spaces)
Finishing
Fasten off your yarn, leaving a 6-inch tail. Pull the tail through the final loop to secure it. Use a tapestry needle to weave the tail back and forth through the back of the double crochet clusters to hide the end, ensuring you do not pull the stitches out of shape.
Care & Washing Instructions
- Machine wash your finished items in cold water on a gentle cycle using a mild detergent.
- Lay the square flat on a clean towel to air dry, reshaping it with your hands to ensure it stays square while damp.
- Do not bleach or iron directly, as extreme heat can melt synthetic fibers or cause permanent damage to cotton yarn.
Pro Tips & Common Mistakes to Avoid
Maintain consistent tension by ensuring your slip stitches at the end of each round are tight; loose slip stitches create visible gaps in the corners. Use a stitch marker in the top of the beginning ch-3 of every round to easily identify where to join, as the chain can often hide within the cluster. Weave your ends in as you go to avoid a daunting finishing session after you have made multiple squares. If you wish to adjust the size, simply continue adding rounds following the pattern logic of placing clusters in side spaces and corners, but keep in mind that larger squares will consume significantly more yarn than the initial rounds.
Frequently Asked Questions
Can I use different colors for each round?
Yes, changing colors at the end of each round is a common technique to make your granny square pop. Simply fasten off at the end of the round and join the new color in any corner space.
Is this pattern suitable for making a full blanket?
This pattern is perfect for blankets. You can make many individual squares and join them together using a flat slip stitch seam or a single crochet join to create a larger piece.
How do I keep my squares from twisting?
Twisting often happens if your tension varies between rounds or if you accidentally skip a stitch in the cluster. Always check that you have 3 stitches in every cluster and that you are working into the correct chain spaces.
Am I allowed to sell items made from this pattern?
You are welcome to sell physical items made from this pattern in small quantities. Please credit the original design when listing your products online to support the maker community.
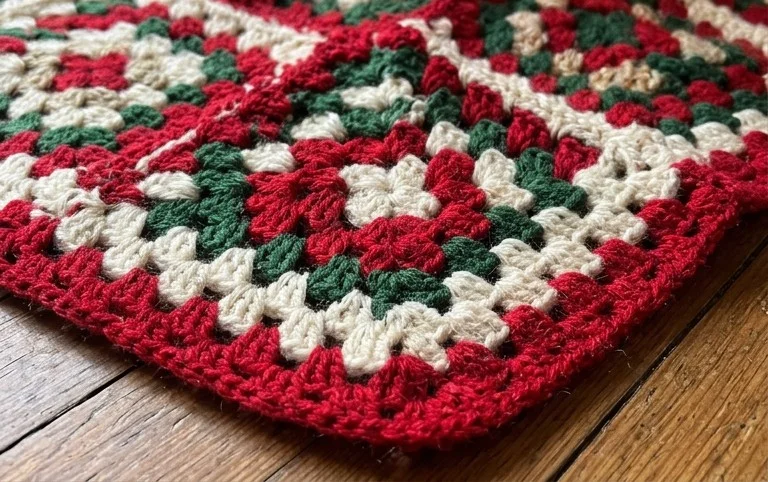
Your finished skirt brings a handcrafted touch to your living room that store-bought versions simply cannot match. You can adjust the size by adding more squares to the outer border or swap the yarn for a bulky velvet cord for a plush feel under your feet. Please share a photo of your holiday display on Instagram or Pinterest to help inspire other makers. You can find more free seasonal projects and holiday decor tutorials listed in the full archive on our main blog page.